Images in BORDER column
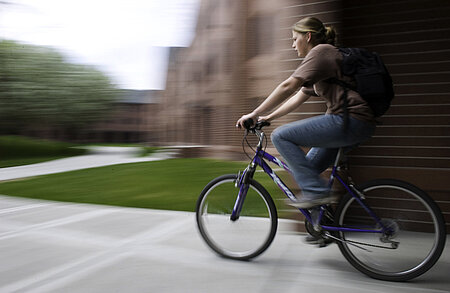
The example photo at right was made to fit exactly in the border column area using the following technique:
- Create a new Images Only content element in the BORDER column
- Select the Images tab
- Add one image using the
 button as usual
 - Select a Position of Above, left
- Set the Columns drop-down menu to 1
- Set the Width (pixels) field to 220
- Save and publish the content element as usual

To add a border around the image, repeat as above except
- Set the Width (pixels) field to 210
- Check the Border checkbox
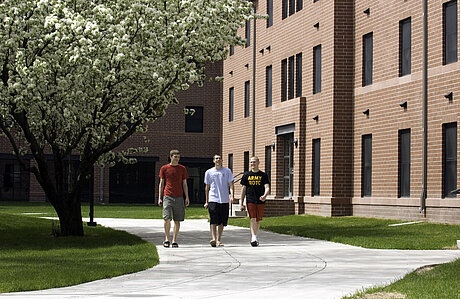
Images in NORMAL Column
The example photo below was made to fit exactly in the main column when there is also content in the border column.
- Create a new Images Only or Text w/Images content element in the NORMAL column
- Select the Images tab
- Add one image using the button
- Select a Position of Above, left or Below, left as appropriate
- Set the Columns drop-down menu to 1
- Set the Width (pixels) field to 460
- Save and publish the content element as usual
To add a border around the image, repeat as above except
- Set the Width (pixels) field to 450
- Check the Border checkbox