Learning ![]() Software (Macintosh Version CC 2020)
Software (Macintosh Version CC 2020)
A self-guided tutorial by Ross Collins, North Dakota State University
Collages, or montages, as they are sometimes called, have become a standard of contemporary in print and on the web. That's because they're so easy to do in Photoshop. While you can do it other ways, (See Photoshop Tutorial Six) Here are directions to make an easier and more polished montage using multiple photographs. Use your own photos or practice photos linked at bottom of this tutorial.
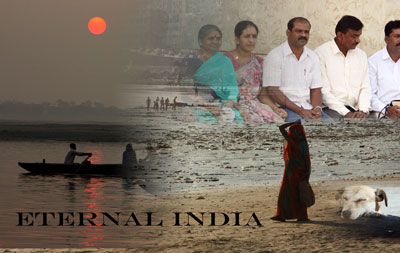
Hint: they also make cool website banners, see right. 
 1.In Windows pulldown, choose Workspace, and Photography. Open your first photo for the montage. This will serve as your background photo; other photos will blend into this. Ideally the photo should have space around the center of interest to make the blend work. (Use Image Size to make the photos the size and resolution you need. See Photoshop Tutorial Six for instructions.)
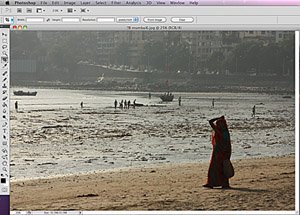
 2. Open your second montage photo. From the Window pulldown choose Arrange, and 2-up pulldown, to compare at the same percentage. Crop as necessary, and size so that it fits into the background photo as you need.
3. Using the marquee tool, drag around the second photo. Copy. Paste copied photo into background photo.
4. The second photo will be placed on top of the first on its own layer. Choose the move tool to move it as you want. Use the transform option (Edit pulldown) if necessary and Scale to fit the image to area desired in the original photo. Choose Return to accept transform.
5. Still working on the new layer, in the Layers pane, choose the Add Layer Mask icon at bottom (the little circle in a rectangle icon; see screen shot at right).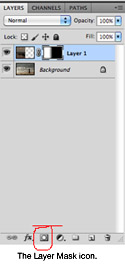
6. Choose the gradient tool from the Toolbox. (It might be behind the paint bucket tool). Choose the Linear gradient from contextual menu bar at top.
7. In the foreground/background color icon (bottom of toolbox), choose default black for foreground (click on two tiny squares to default).
 8. Making sure the layer mask thumbnail is selected in the Layers panel and black is the foreground color, drag horizontally on the second photo to smoothly blend with the first. You will have to experiment with this a bit to get it just right, dragging several times for different effects. Use History panel to return to earlier stage, if necessary.
 9. When you're ready open the third picture. Same procedure: size, crop, copy, paste into your montage. Move, Layer Mask, gradient.
10. Add a fourth picture, or more, if you wish.
11. You will have to adjust the sharp edges between photos. To do that, choose the brush tool. Choose a soft-edged brush, and set your foreground color to black. For Mode choose Normal. For Opacity choose about 75%. Make sure the correct layer mask is highlighted in the Layers panel, and brush to soften edges. You can also change Opacity of photos for greater blend.
 12. Again with the chosen layer mask active (click on it from the layers panel), paint over the image to blend. Adjust flow and opacity of brush as necessary for a smooth transition. Adjust size (Transform) and move as necessary.
13. Add text, if you wish. See tutorial five for directions.
14. Save as .pdf to preserve layers for future work. Then save as .tif or .jpg for publication or the web.
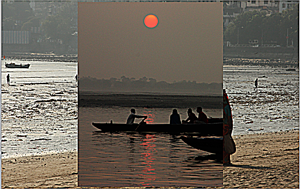
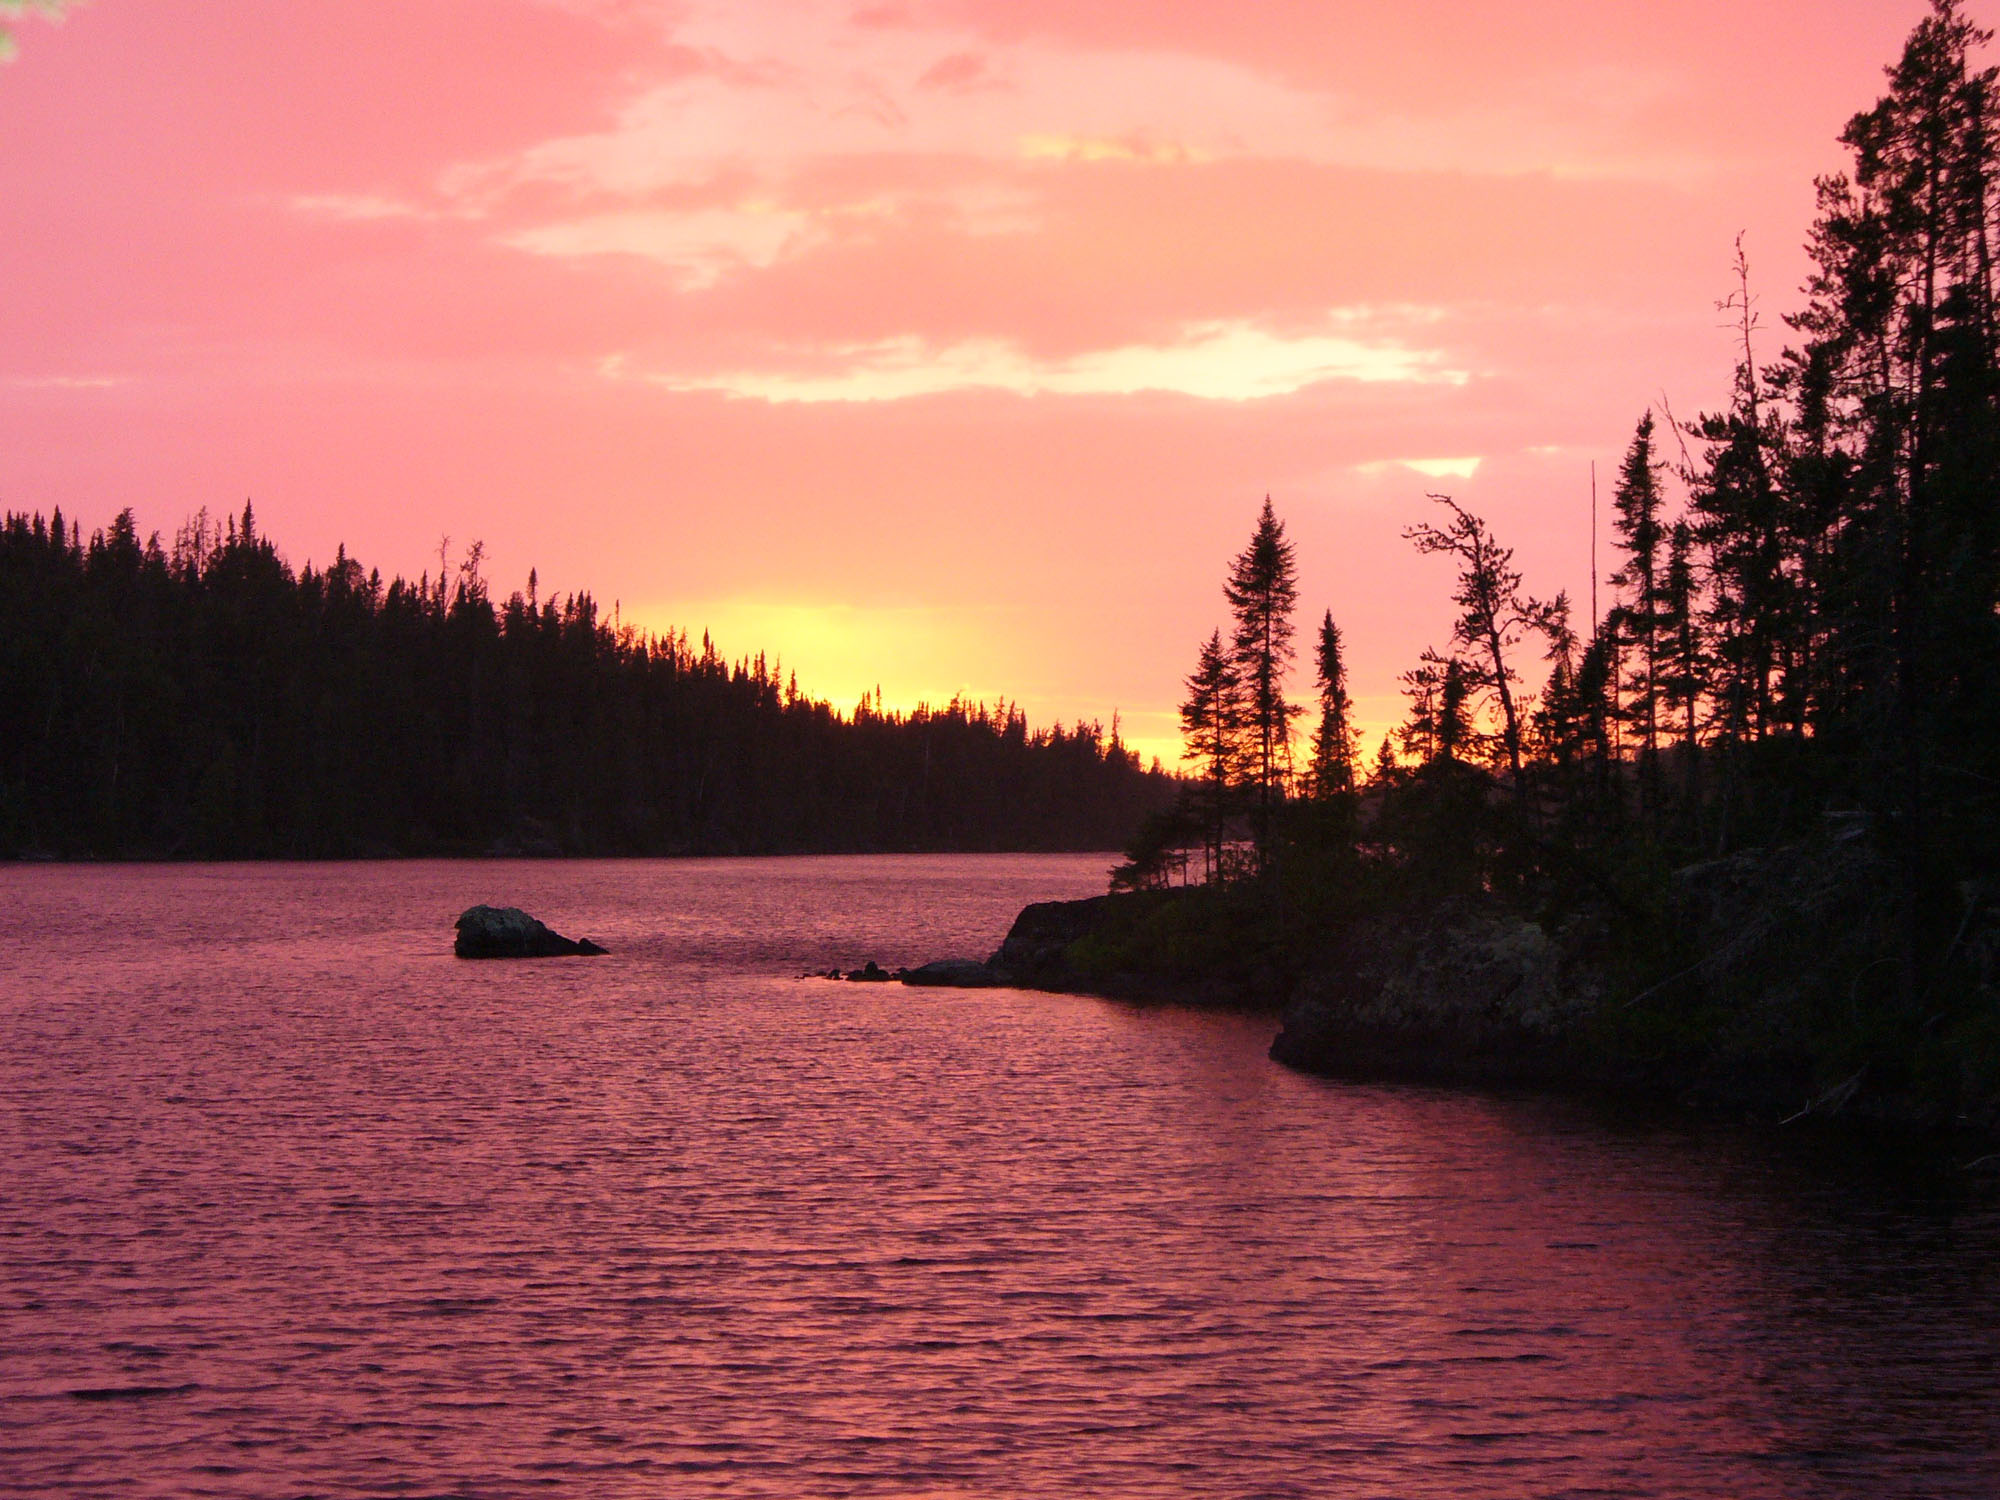
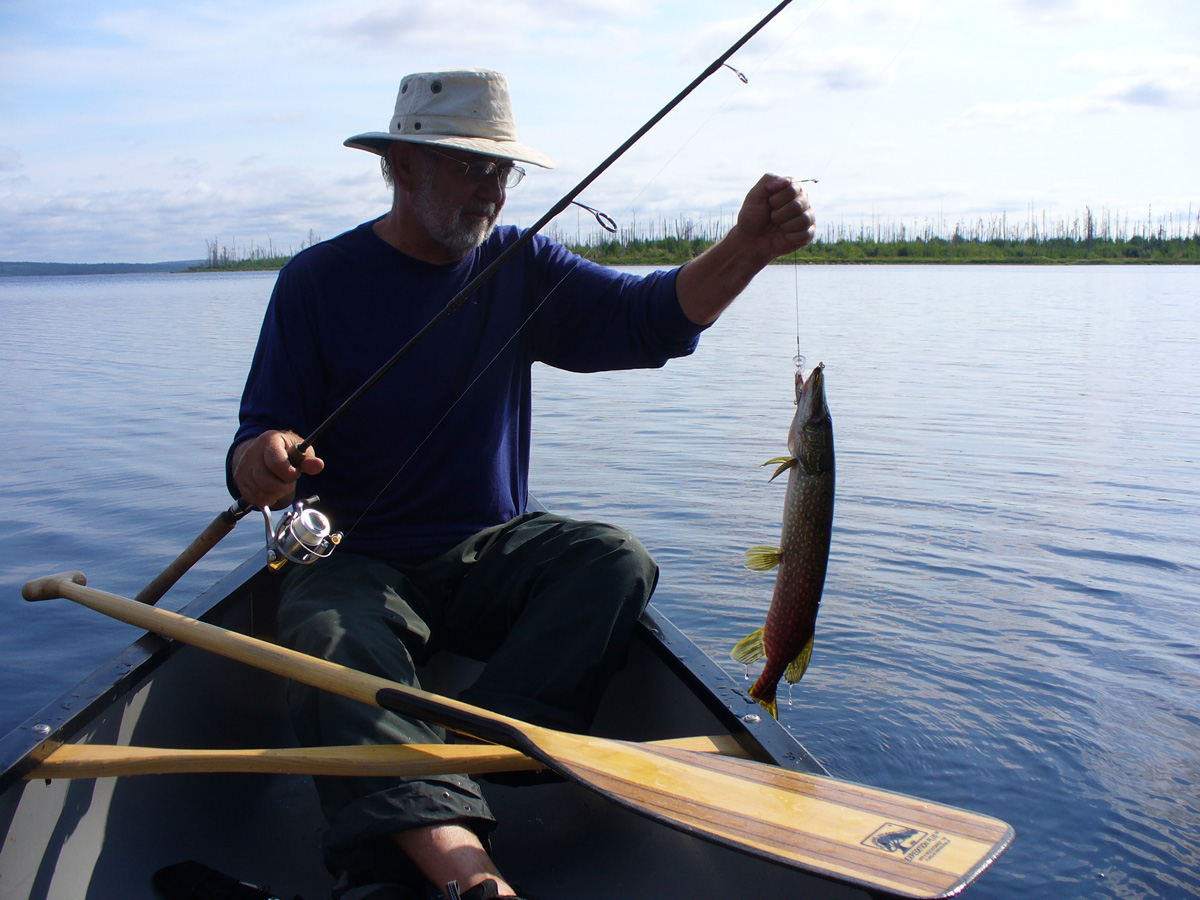
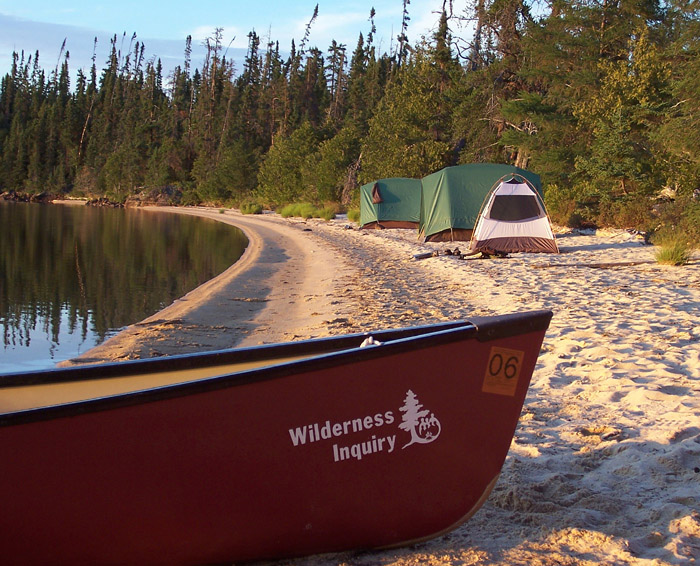
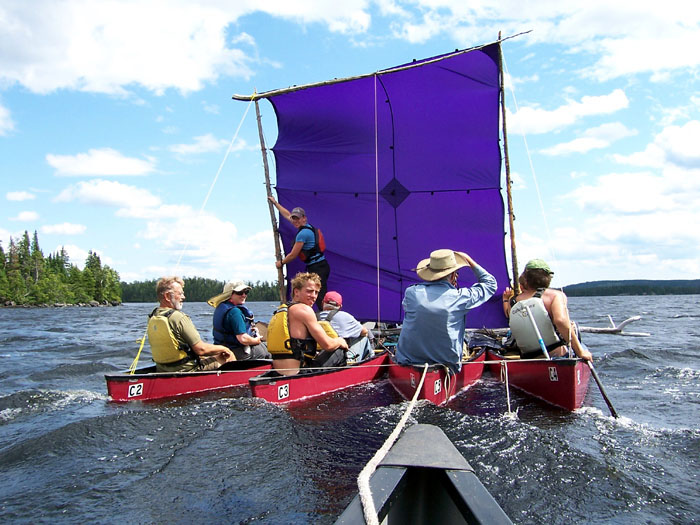
Below are some practice photos, and a sample montage I'm sure you can improve on. Alternatively, and probably preferably, use your own photos.
Assignment: Upload your completed montage to Blackboard as a .jpg for grading.