

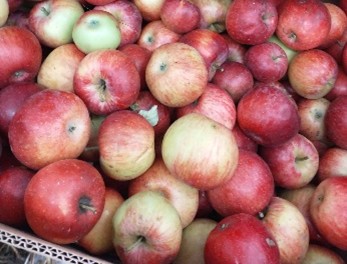
The Apple Juice Adventure
I needed something to do with the boxes of apples pilling up in the cooler. Maybe I could make some apple juice with the fruit press I found in the lab? YouTube videos made it look simple and quick.
I started the morning by choosing some apples to juice. A 2/3 of a pail of fallen ‘Sweet Sixteen’ apples was the perfect amount for a test run.
The first step of juicing is to mash the apples. Some juicers come with a nice apple grinder, but ours didn’t. As I looked around the lab for something to use as an apple masher, John from the organic research program came in. He thought the juice experiment was interesting, and brought me different things from his shop to try. It turns out there is an art to choosing a good apple masher. It has to be heavy but not unwieldy, and have a shape that apples don’t get stuck on. This metal piece worked very well.
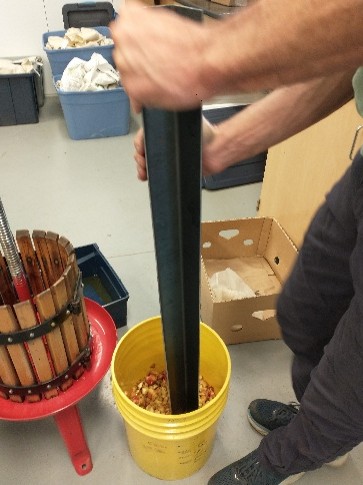
Next it was time to fill the juicer. A mesh bag lines the inside of the juicer. It has a hole in the bottom to fit over the center pole. The mashed apples go inside the mesh bag, like this.
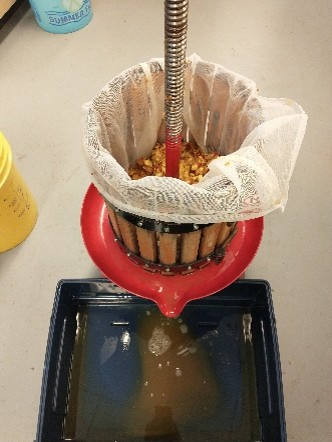
Then I folded the top of the mesh closed and stacked the wood blocks on top. Those blocks add height so you can turn the crank, even when the apples are below the rim of the juicer. The hand crank screws on last.
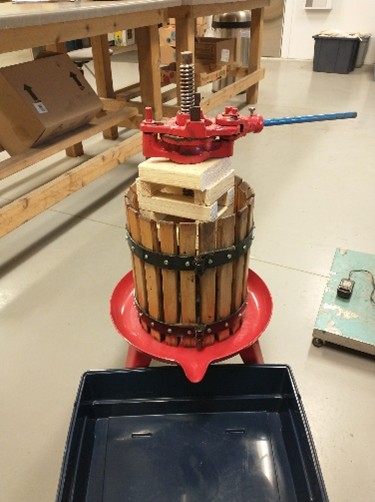
However, we discovered that the stack of blocks fell over as we put pressure on the crank.
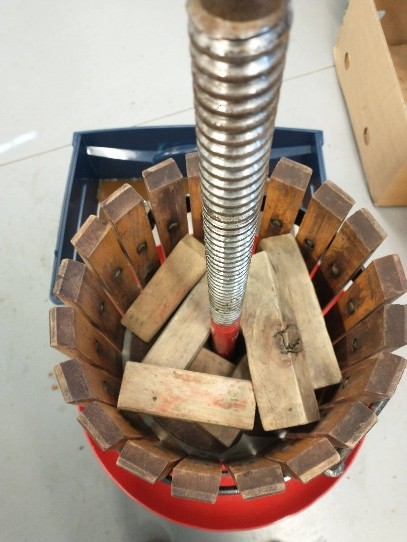
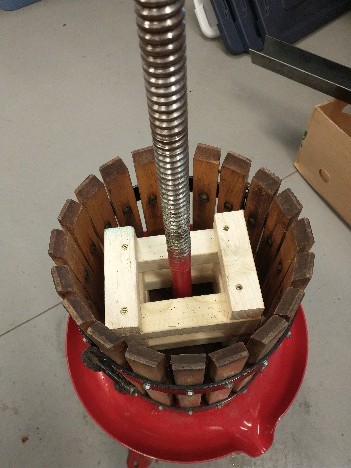
John made a solid piece to go between the blocks and the crank. It helped some, but the blocks still fell. We decided that the best solution was to screw the blocks together. Billy from the agronomy shop helped with that part.
While we were figuring out the blocks, we noticed the apples weren’t giving very much juice. Were they just not very juicy apples? Or was there something wrong with my technique? We decided to try mashing the apples more finely. That helped a lot. Juice started coming out even before applying pressure.
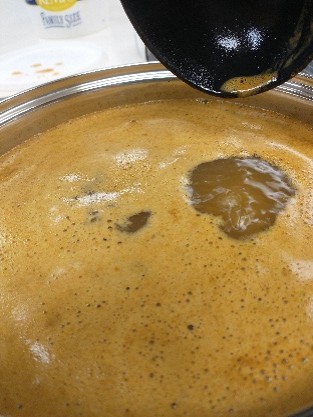
Finally, we had an ice cream pail full of apple juice. It looked delicious. But it had also been unrefrigerated for several hours as we figured out the juicing process. How could I make sure it was safe to drink? The answer is to pasteurize it. Pasteurizing is very simple. I just heated the juice on the stove until it simmered for a few seconds (you need 160°F for 6 seconds according to Oregon State University extension). The heat kills bacteria in the juice.
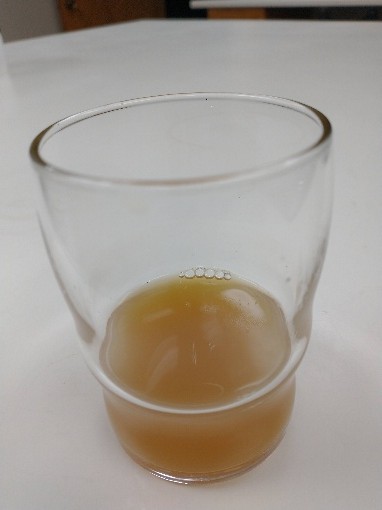
After that, the juice was ready to taste!
Are you ready to press your own apples? Need some apples to press, eat, preserve, or bake? The Carrington Research Extension Center has pre-picked apples ready for you.
Elizabeth Krause
Elizabeth.Krause@ndsu.edu
CREC Fruit Project Manager
